WorkMan QMonitor for AVIO - Configuration
Contents
Server Installation
This configuration applies to the edition that works with Avaya IP Office. Follow these steps on the server to make it work. If this is an existing installation you typically need to update your database and take different steps (purchase techsupport from Larsson Consulting for this).
- Install Avaya IP Office TAPI Driver
- Configure 3rd part TAPI, enter correct password and include ACD-queues
- Install Firebird SQL Engine
- Install WorkMan CC Server setup (wmccserver_setup.exe)
- Install WorkMan CCT AVIO setup (wmcctavio_setup.exe)
- Start WorkMan CC Config which can be started from the program menu
Fetch data from Avaya IP Office
- Click on the AVIO PBX Page.
- Press on + sign to insert the IP to the PBX and relevant settings.
- Press on V sign to save
- Click on Import Huntgroups button to import all Huntgroups from the PBX
- Click on Import Extensions to fetch all Extensions from the PBX
Wallboards
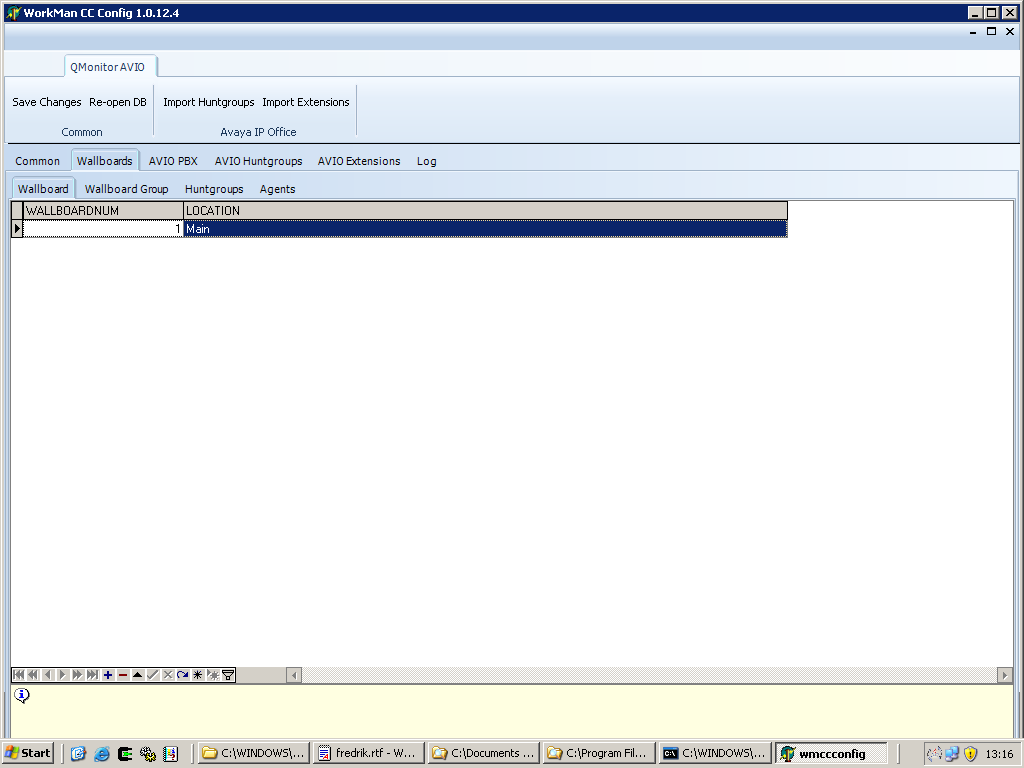
A wallboard is the foundation of all information and you can have several wallboards that displays different data.
- Create a new wallboard, the first one should typically have WALLBOARDNUM = 1 (the value 1 is used by default installations of QMonitor)
Wallboard Group
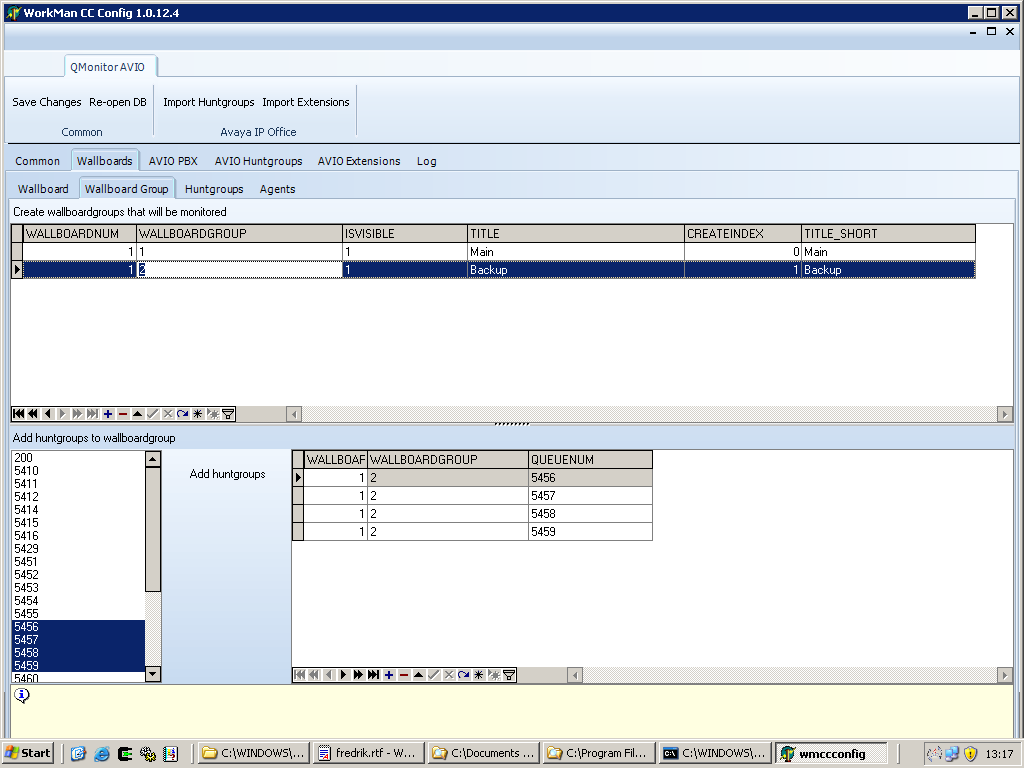
A wallboardgroup is a combination of several DDIs that sums of queuelength as well as display the longest waiting time. Add several Huntgroups by selecting more than one and then "Add huntgroup". Wallboardgroups are used by QMonitor LT.
Huntgroups
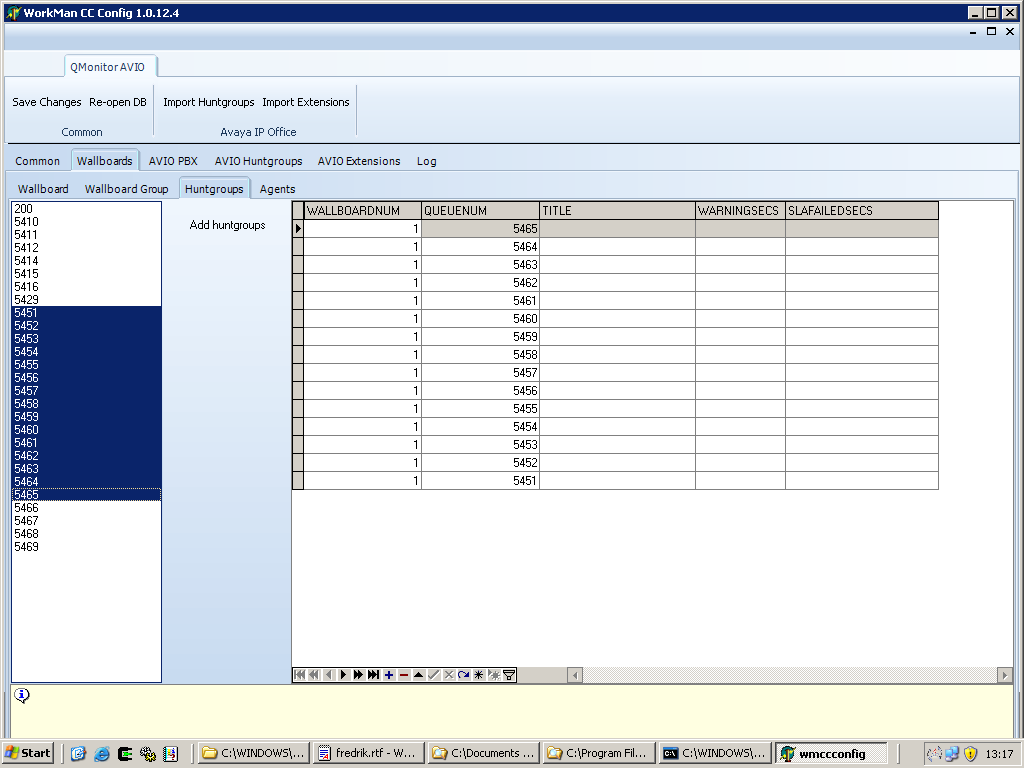
Huntgroups are used by QMonitor and displays the individual length of each huntgroup as well as longest waiting time.
Agents
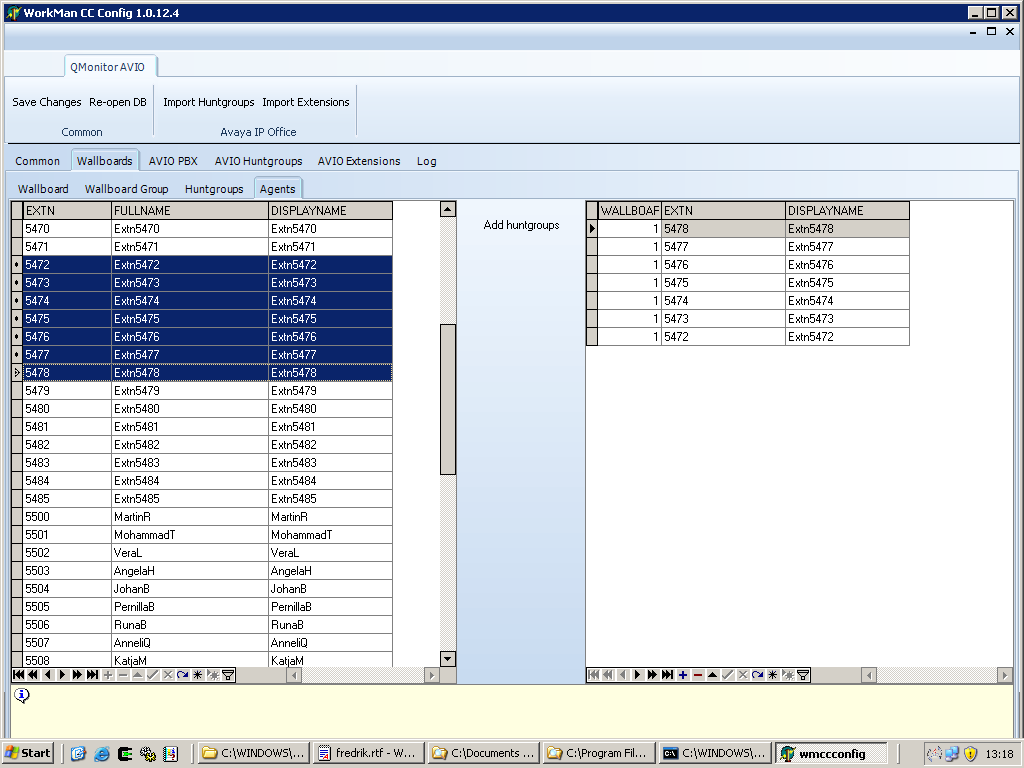
This is used by QMonitor to display the agents loginstatus on each different huntgroup. Add them here so that they can be displayed in QMonitor. In QMonitor these are of course synced with the Huntgroups.
Client installation and configuration of WorkMan QMonitor
- Run installation
- Assign IP for databaseserver and applicationserver
- If you are using different Wallboardnumber than the default (1) then set this.
Client installation and configuration of WorkMan QMonitor LT
- Run installation
- Assign IP for databaseserver and applicationserver
- If you are using different Wallboardnumber than the default (1) then set this.


